An alarm clock that drives away from you when it goes off — forcing you to get up and chase it to make it stop. Syncs to Google Calendar so you can set the alarm from any device.
YouTube – Privacy Notice
This video is hosted on YouTube. Clicking "Accept & Watch" will load the
video and allow YouTube (Google) to set cookies and track your viewing.
See Google's Privacy Policy.
Introduction
Almost everyone uses their phone as an alarm clock — easy to set, plays custom
music, and smart enough to guess when to wake you. The problem is we've become
so accustomed to our phones that we can dismiss an alarm in our sleep.
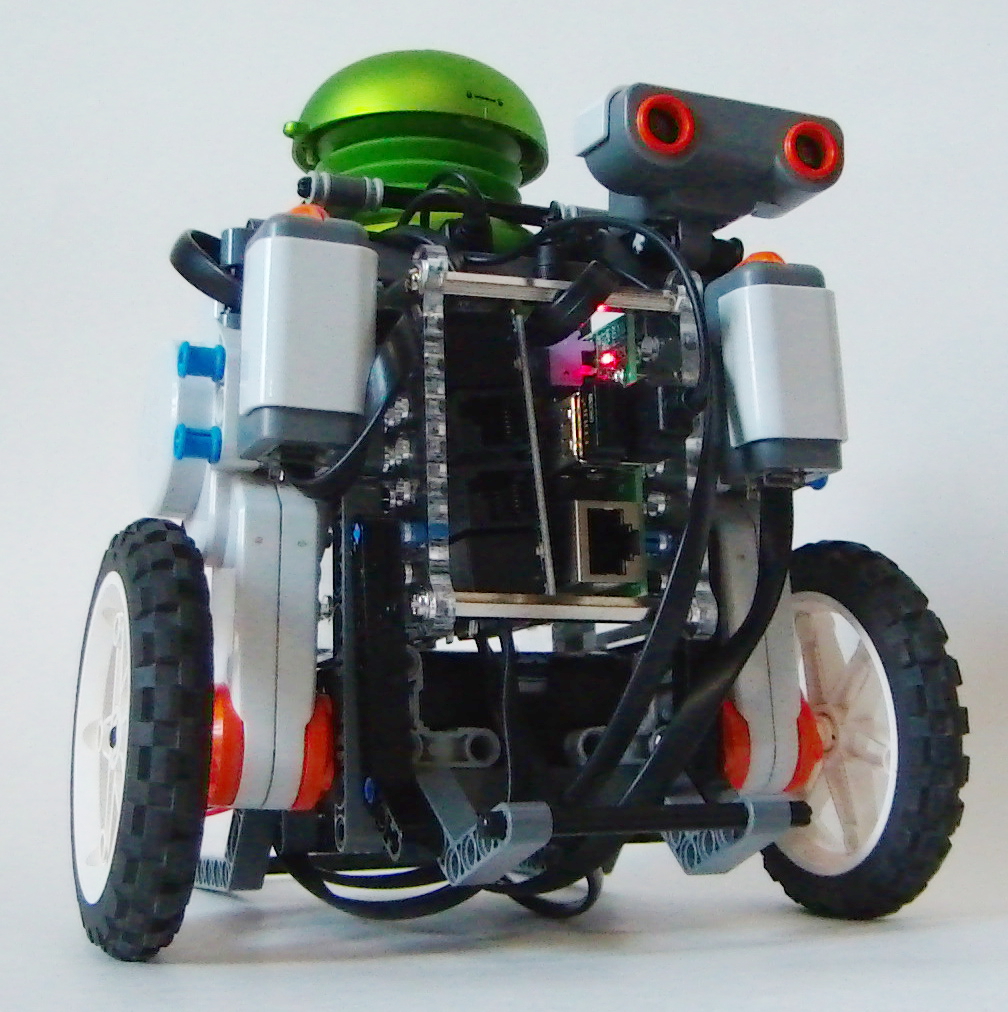
The Rolly Robot solves this. When the alarm fires it plays your chosen MP3 and
starts driving randomly around the room over any surface. The only way to stop it
is to get up, catch the robot, and press the touch sensors. It also syncs with
Google Calendar, so you set your alarm time by creating an event with the title
wake1 on any device — phone, tablet, or computer.
The installer will pull in all required Python packages for Google Calendar
integration and audio playback.
Run the Alarm Clock
python alarm.py
The robot will start polling Google Calendar for an event called
wake1. When the event time arrives it plays
alarm_sound.mp3 (replace this file with any MP3 you like — keep
the filename the same) and begins driving around the room. Press both touch
sensors simultaneously to silence the alarm.
Setting the Alarm
Log into Google Calendar on any device and create a new event titled
wake1 with your desired wake-up time. Save the event — the
robot will detect it automatically the next time the alarm runs.
Updating the alarm time is as simple as editing the event in Google Calendar —
no SSH session or terminal required.
Never Hit Snooze Again
Fork the source on GitHub and make your own alarm-dodging robot.